Creating a Client-Side Model Card Generator
October 18, 2023
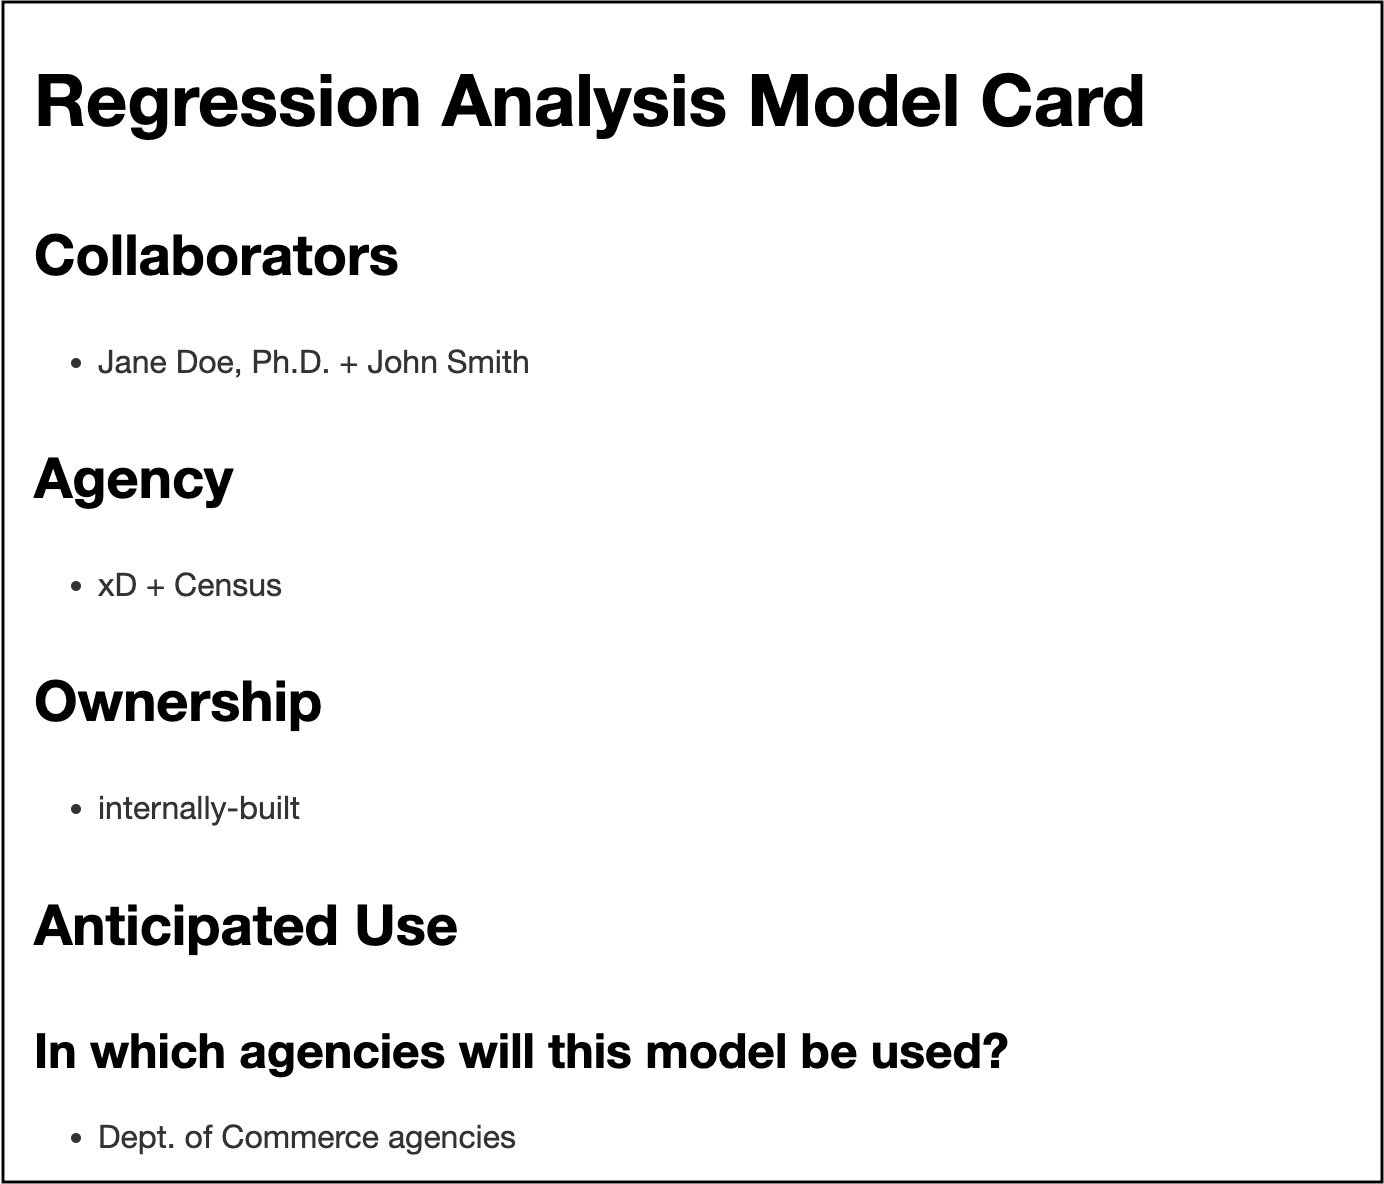
Recently at xD we’ve been working on model card generators. If you’re not familiar with model cards, they are brief documents that describe various details of a machine learning model such as what data it was trained on and how it’s expected to be used, and their usage is being widely adopted by ML and AI practitioners. Organizations like Huggingface and Google are big proponents, for example. The newest feature we have developed and are highlighting here is a web-based model card generator.
The goal for this feature was to create a form in which users could fill out information about an ML model and then immediately download a model card in a markdown format. Being a lead web developer on the team, I was asked to take on this feature and it ended up being a great project that was small and self-contained but also fun and informative. In this post I’d like to highlight a few of the web development tricks and skills I learned and rediscovered while creating this feature.
HTML Form Validation
The general workflow of this feature entails a user filling out a form of detailed questions about a machine learning model before submitting the form and receiving a downloadable markdown file. Once a user has filled out the form and submitted it, we first need to validate the form data. In order to verify if a user has entered a value into the required parts of the form, we use the required keyword on those form elements. Adding this property to a form input means that when a user submits a form, the browser will first check that all of the required inputs have some value in them before allowing the form submission to proceed. Using the required keyword in particular has the added benefit that its behavior is controlled by the browser, so I didn’t need to write any JavaScript to do this form validation for me.
For now this feature is only checking whether a field has data or not via the required keyword. But in the future we may use several other helpful validation features in HTML such as the pattern keyword that lets you check a form field’s value against a regular expression.
HTML Data Attributes
In order to discern the different form sections and individual questions, I created several HTML data attributes that I could then reference in my JavaScript code. And the DOM API has a nice interface to grab these data attributes using the dataset property of an HTML element. For example, if I wanted to grab the data attributes of the following element:
<div id="example" data-md-title="Ownership" data-md-type="ul"></div>
I could access those properties with JavaScript like so:
const exampleElement = document.getElementById("example");
const mdTitle = exampleElement.dataset.mdTitle;
const mdType = exampleElement.dataset.mdType;
You can see that the dataset object even helpfully converts the property names to camelCase!
Creating a Downloadable Data Blob
Once we have our form inputs validated and we’re able to process them via JavaScript, we can begin creating a markdown model card file. To create that file, I first initialized a JavaScript Blob, which is an object of immutable data that can be of various formats. The file format, more specifically the "MIME type”, can be specified in the Blob constructor where you also pass the data you want the blob to contain.
Putting Everything Together
Once we’ve validated and collected our data and placed it in a blob instance, we’re ready for download! To do that we have to create a temporary anchor tag in the DOM and use a few static methods on the window.URL object. By creating an anchor tag we can simulate the user clicking on it to initialize the browser’s file download workflow. And by using window.URL.createObjectURL we can ensure that the blob object containing our form data is what the user will be downloading. The code roughly looks like this (for the sake of the example I left out the code for collecting and parsing the form data, but it is viewable via the Github link in the "Summary" section below):
const anchor = document.createElement("a");
const formData = collectFormData(); // method for collecting data defined elsewhere

// create blob and temporary URL
const downloadBlob = new Blob([formData], { type: "text/markdown" });
const url = window.URL.createObjectURL(downloadBlob);

// link blob URL to anchor tag and attach anchor to DOM
anchor.href = url;
anchor.download = "modelcard.md"; // name of the downloadable file
anchor.style.display = "none";
document.body.append(anchor);

// begin download process and remove anchor and blob from DOM and browser memory
anchor.click();
anchor.remove();
window.URL.revokeObjectURL(url);
You can see here that we create our temporary anchor tag and our blob object before we link them together via the anchor element’s href and download properties, then we click the anchor element to initiate the browser’s download process. If we kept the anchor tag in the DOM after the download, it would stay in the browser’s memory, so even though the model card file is not very large, it’s best practice to avoid potential memory leaks by removing the anchor from the DOM and revoking the blob’s URL to delete it from the browser’s memory.
Summary
Here we’ve looked at a simple project to validate and download a model-card markdown file. We looked at some of the JavaScript and HTML features used in this project, including HTML validation and data-attributes as well as creating a blob object containing our form data and a way to download it directly in the browser without needing to contact a server. An additional benefit of this feature is that it doesn't require any new third-party libraries or dependencies, which keeps the JavaScript bundle size small and limits the application's security vulnerabilities.
You can see the code in the pull-request for this feature on Github here, and the deployed application here.
Get Involved
This is a small example of some of the things we work on at xD. In addition to web development we’re also working on several projects in the domains of machine learning and AI, data engineering, and privacy-enhancing technologies. If you found this interesting and want to know more, please reach out to us and consider applying to join the team!


